
Serving Southeast Ohio Since 2007
Serving Southeast Ohio Since 2007
Learning how to install metal roofing and installing it is a rewarding project for both DIYers and professionals, offering a long-lasting, durable, and low-maintenance solution for buildings of all types. Whether you’re outfitting a pole barn, shed, or residential structure, this guide will walk you through the tools, materials, techniques, and step-by-step instructions you need to complete your installation with confidence.
Before you begin the installation, it’s helpful to understand the styles of metal roofing panels commonly used in construction today. Each type has specific features suited to different environments and structural needs. CMT Components offers a variety of metal panels to meet these diverse applications.
These panels connect with vertical interlocking seams that hide the fasteners beneath the surface. This creates a streamlined, modern appearance while offering increased defense against wind and water. Popular for both commercial and residential buildings, this profile is known for its long-lasting performance and minimal maintenance.
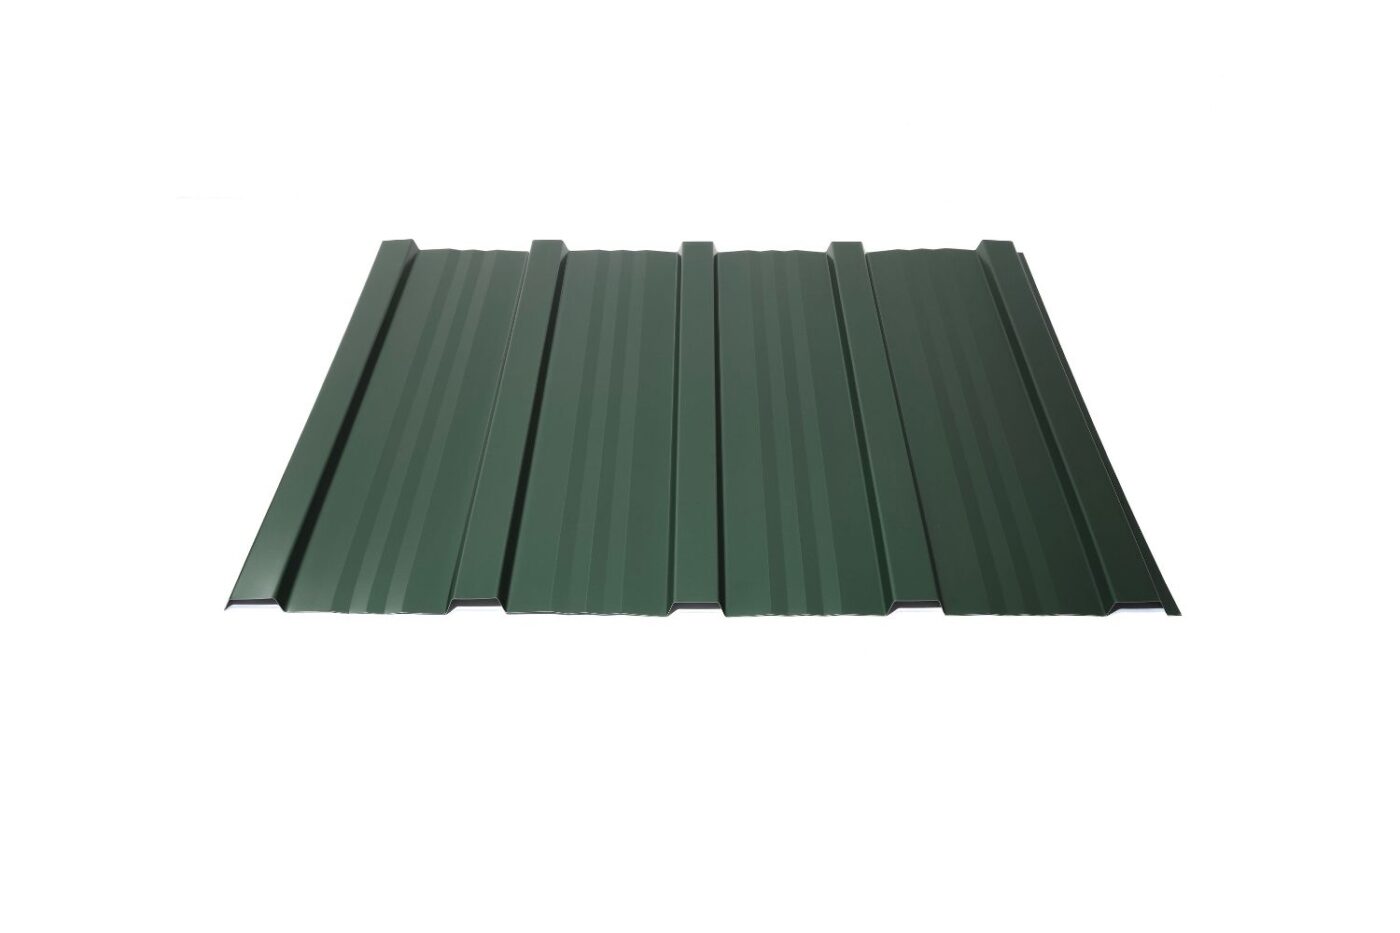
Corrugated profiles, recognized by their wave-like grooves, are especially common in agricultural and utility buildings. They provide excellent strength-to-weight ratios and are easy to install. However, their exposed screws may occasionally require re-tightening or replacement over time.
CMT Components provides several corrugated panel options within this category:
Each panel type has a distinct shape, rib height, and fastening method. Choosing the right one depends on your structure’s design, the local climate, and your performance goals.
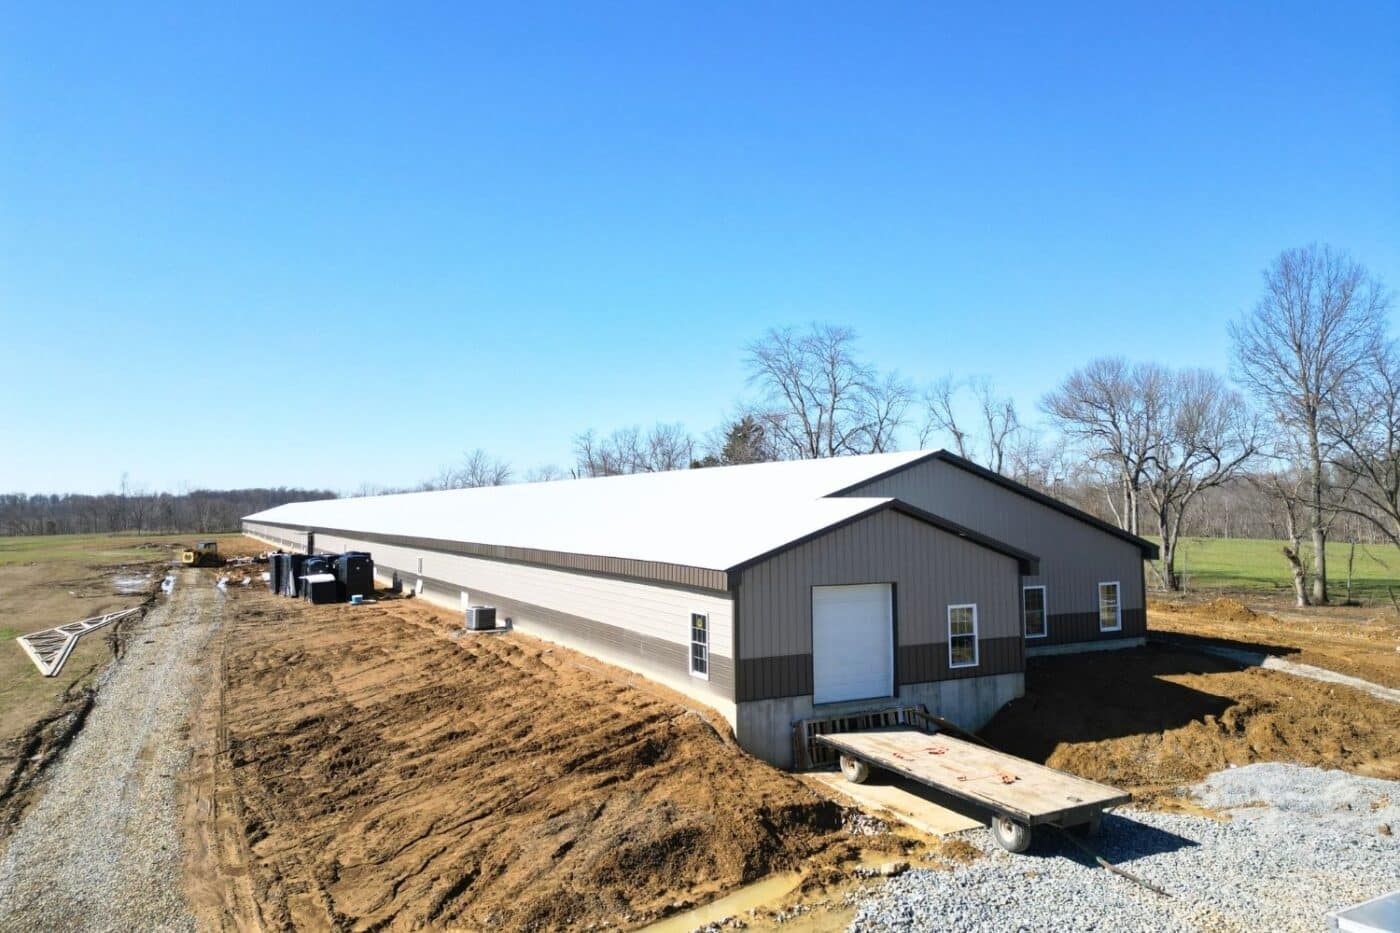
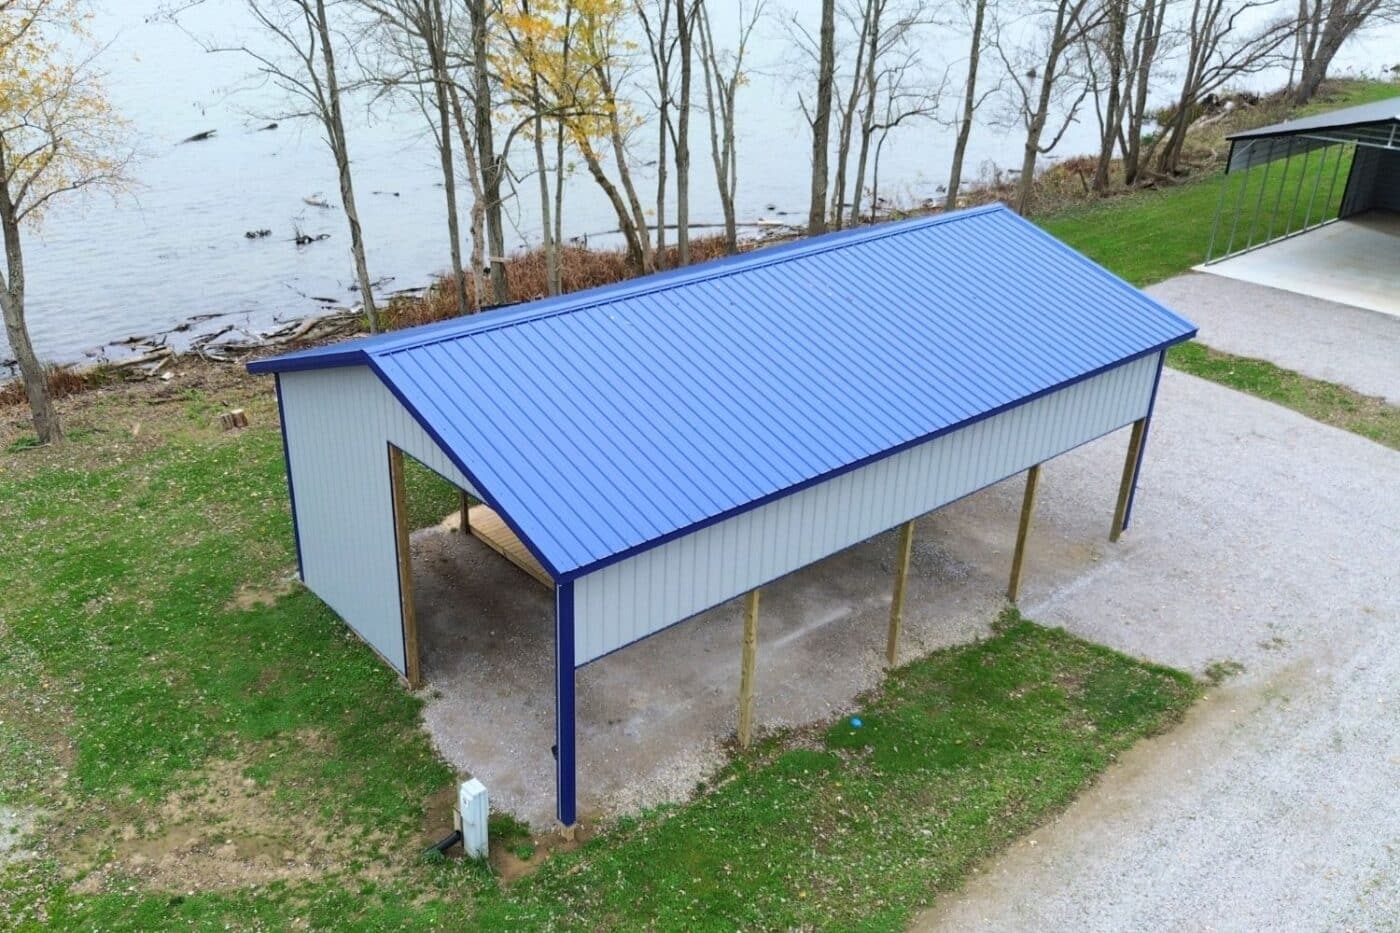
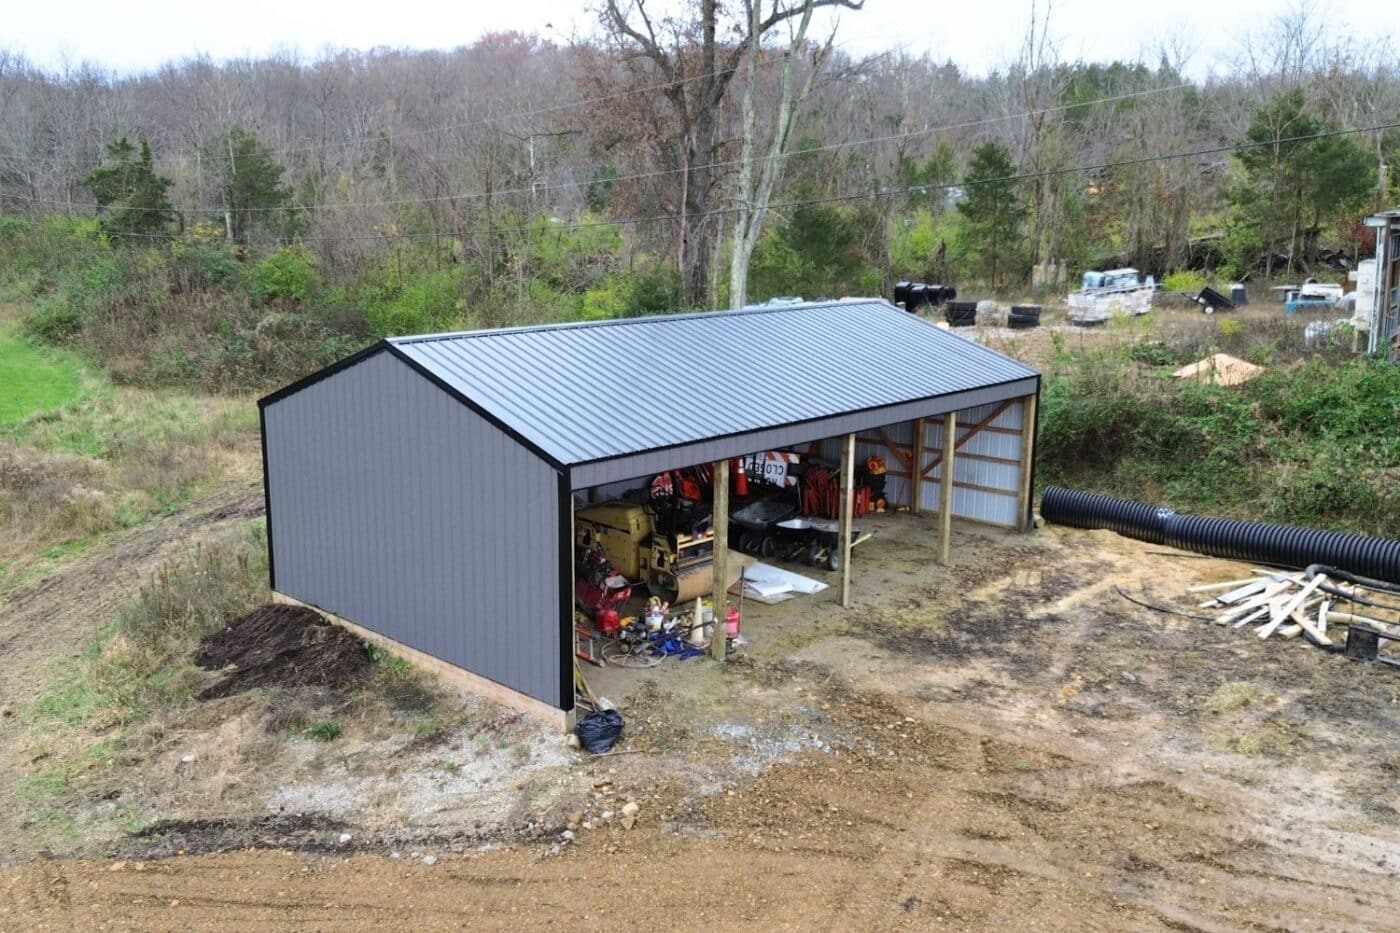
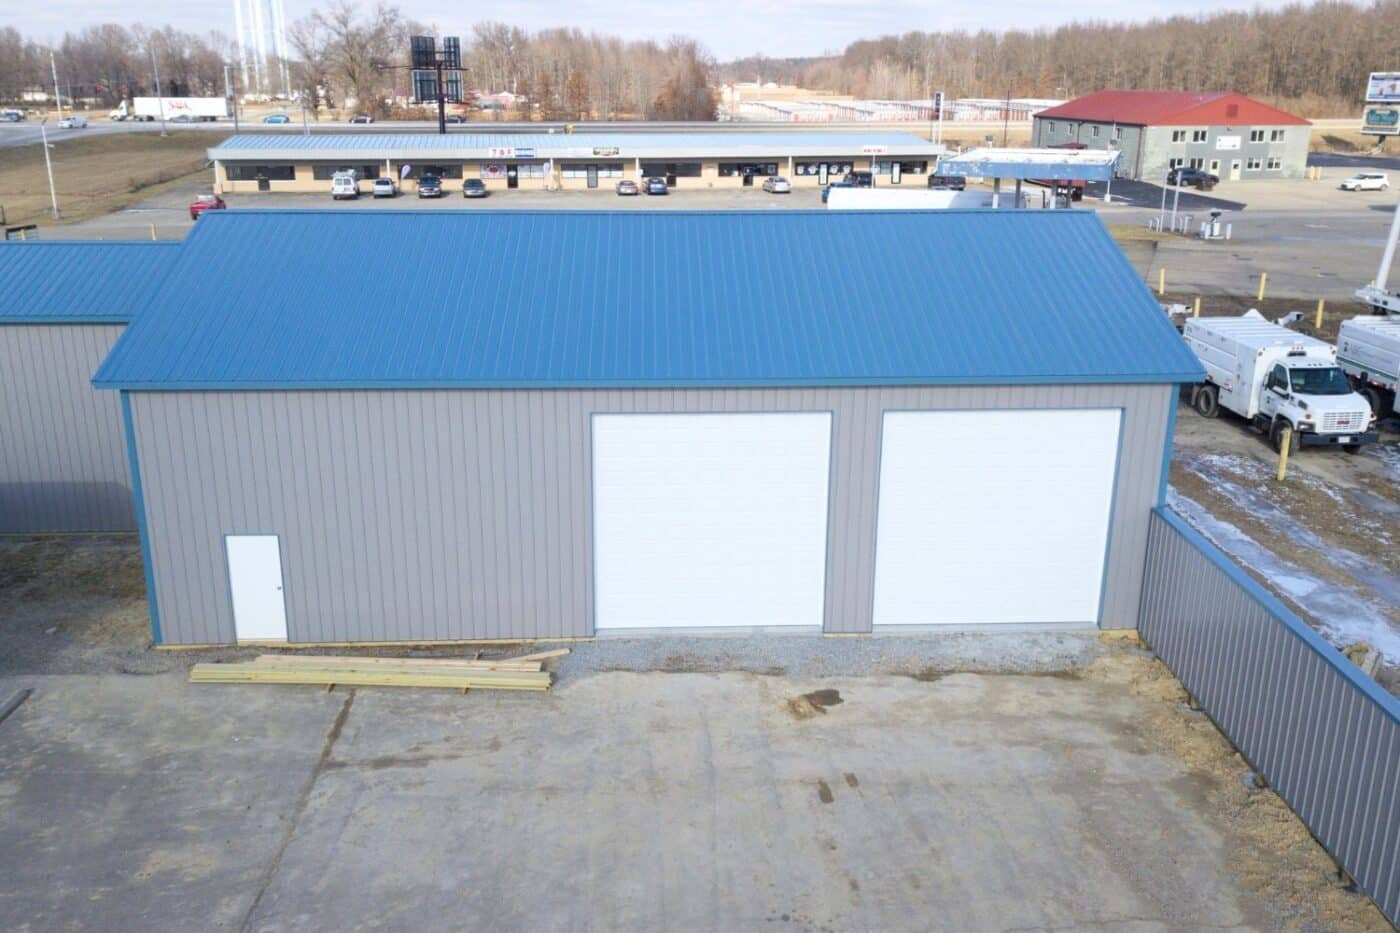
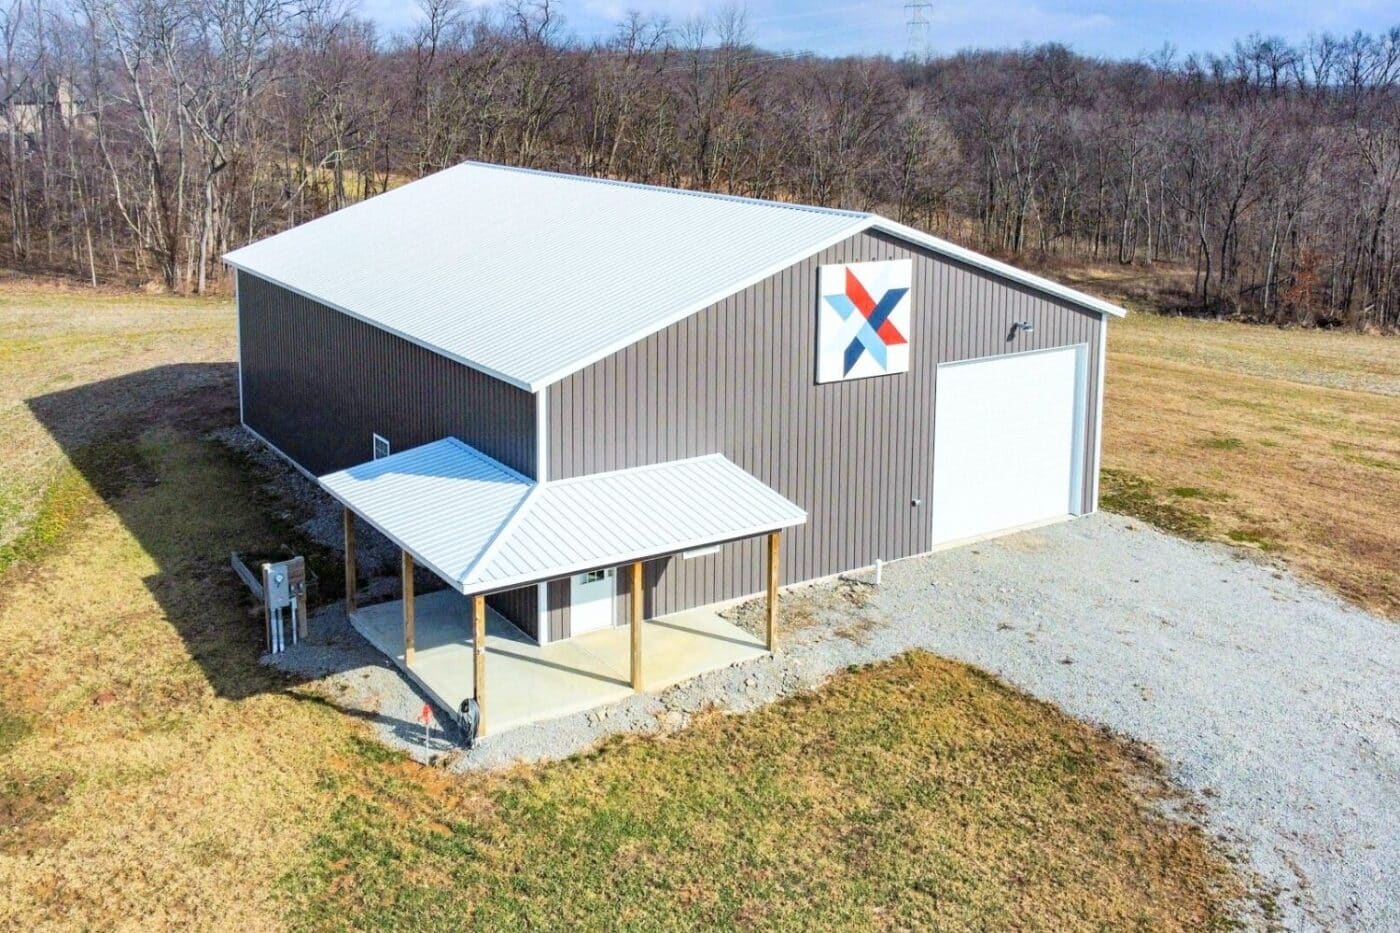
Metal roofing is a popular choice for pole barns, thanks to its longevity, low maintenance, and ability to efficiently cover wide roof spans. These structures often serve as workshops, storage spaces, or even living quarters, and a metal roof ensures long-term durability, regardless of the use.
Unlike a shed, which typically features a smaller footprint and a simpler roof layout, pole barns demand more detailed planning. Their expansive size means longer panel lengths, more structural bracing, and precise alignment across wider surfaces. That said, the overall installation process remains quite similar between the two structures.
Both sheds and pole barns benefit from custom-cut metal panels, weatherproof trim, and solid underlayment protection. The main differences come down to scale and roof pitch, larger barns may require additional safety considerations and fastening techniques, while a backyard shed offers a more straightforward project for beginners.
The ridge cap is the final piece that goes along the peak of the roof, sealing the joint between two slopes. Installing a ridge cap involves placing foam closures underneath the ridge to prevent water and pests from entering, then aligning and fastening the ridge cap with appropriate metal roofing screws along the ridge line.
To install metal roofing correctly, you will need the following tools:
Accurate measurements are key to ensuring a smooth metal roof installation. Measure the length and width of each roof section, including overhangs. You’ll need to calculate the total square footage to order the correct number of fasteners.
Divide the roof into rectangular sections and calculate the square footage of each. Multiply the length by the width, then add all the areas together.
Before installing any metal panels, apply a roofing underlayment to the entire surface. This layer provides additional protection against moisture and air infiltration. Popular options include:
Secure the underlayment using cap nails or staples and overlap each row by at least 4 inches.
Ordering metal panels to the correct size is crucial. Many suppliers, like CMT Components, offer custom panel cutting based on your roof dimensions. This saves time and reduces on-site cutting errors.
Panels should be ordered with an appropriate overhang at the eaves (usually 1-2 inches). If trimming is needed, use metal snips or electric shears designed for roofing panels.
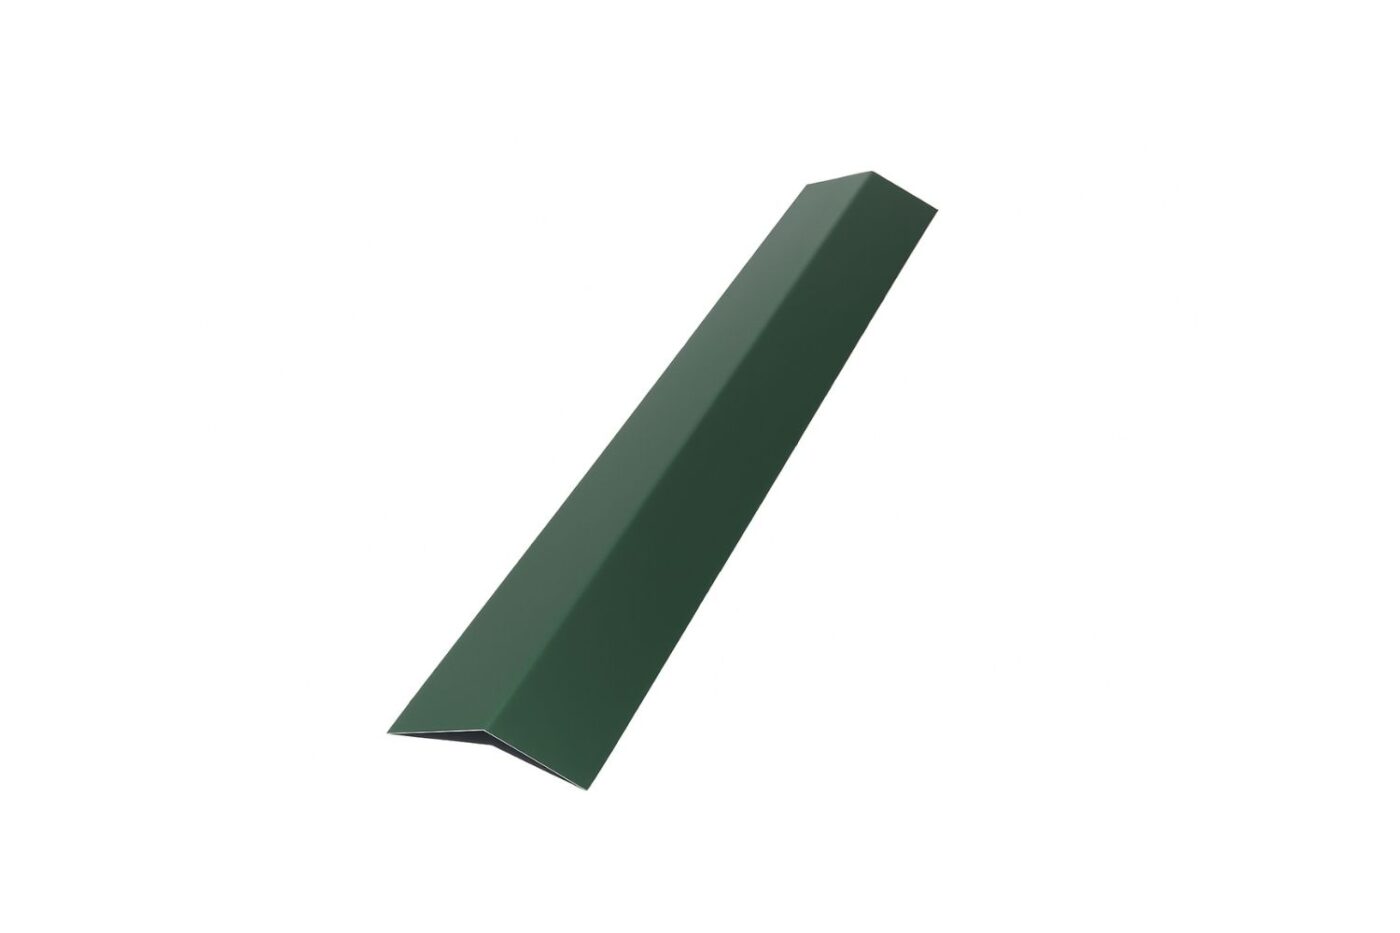
Before installing trim, some edges need to be bent closed to direct water away from seams. You may use a hand brake or edge bender tool to make clean, professional bends. There are different types of edge trims:
Start by installing eave trim at the bottom edge of the roof. Position it flush with the fascia and fasten it with appropriate screws. The eave trim helps direct water into gutters and provides a clean edge.
Overlap trim pieces by a few inches and seal overlaps with butyl tape or sealant for a watertight fit.
Where trim pieces meet, overlap them by at least 3-4 inches. Apply butyl tape or a thin bead of roofing sealant where the trims overlap. Fasten both pieces securely to ensure they don’t lift in the wind.
Use a chalk line to snap a straight line up from the eave to the ridge. This helps ensure your panels stay straight and aligned throughout the installation. Measure from the edge and snap the line along a consistent starting point.
This reference line is especially important for visible panels like standing seam, where misalignment can be noticeable.
Begin setting panels from the end of the roof opposite the prevailing wind direction. Lay the first panel with the edge aligned to the reference line. Allow a 1–2 inch overhang at the eave.
Set each panel in place and secure loosely until alignment is verified. Then fasten down the panel, starting from the bottom and moving upward, placing fasteners in the flat sections (for corrugated) or clips (for standing seam).
Screws should be driven snugly without over-tightening. Over-tightened screws can damage the washer or deform the panel. Under-tightened screws may allow water to seep in.
Always use screws with rubber washers and place them at regular intervals according to the panel manufacturer’s instructions (typically every 12-24 inches along the ribs).
Each panel should overlap the adjacent one by one ridge (corrugated) or snap into place (standing seam). Ensure the overlaps are tight and aligned. Use sealant or butyl tape if specified, especially for low-slope roofs.
Keep a consistent pattern and double-check the alignment every few panels.
Install rake trim along the gable ends of the roof. These trims seal the edge and protect the panels from wind uplift. The rake trim should overlap the top edge of the metal panels and extend down the gable fascia.
Fasten the rake trim into place using trim screws and seal the joints with butyl tape or roofing sealant.
Install foam closure strips along the ridge where the panels meet. These fill the gaps under the ridge cap and prevent rain, snow, and pests from entering.
Center the ridge cap over the peak and fasten it through the high ribs of the roofing panels using long screws. Make sure to overlap sections of ridge cap by at least 6 inches and seal them with butyl tape or sealant.
Installing a metal roof may seem like a big undertaking, but with the right preparation, tools, and guidance, it’s a project well within reach. Whether you’re tackling a backyard shed or a large pole barn, each step plays a vital role in ensuring a roof that performs reliably for decades. Choosing the right materials is just as important, and that’s where CMT Components comes in. We offer a full lineup of high-quality metal panels, including A-Loc, B-Loc, C-Loc, and R-Loc profiles, each engineered for specific needs ranging from residential siding to large-scale agricultural buildings. With custom-cut lengths, dependable strength, and weather-resistant finishes, our metal roofing solutions give you the confidence to build smart, strong, and lasting.
