
Serving Southeast Ohio Since 2007
Serving Southeast Ohio Since 2007

Are you starting a new project and thinking about building a pole barn? A pole barn is a practical and cost-effective solution, whether you want to add a garage, workshop, or storage space. Its simple post-frame construction makes it quicker and easier to build than a traditional structure while offering the durability and flexibility you need. In this guide, we’ll walk you through everything you need to know about building a pole barn—from what it is and how it’s used to walking you through the process of putting it together, from planning and site prep to raising the roof and adding those finishing touches.

A pole barn is a structure that relies on large poles (or posts) buried in the ground to support the roof and walls rather than relying on a concrete foundation. This method, known as post-frame construction, makes pole barns quicker and more cost-effective for assembling a new building. They can be used for many purposes, including garages, agricultural storage, livestock shelters, commercial buildings, and even homes.
Pole barns offer a lot of advantages. They’re a durable and versatile option that won’t break the bank. Known for being cost-effective and quick to build, pole barns are great for everything from agricultural buildings to residential garages. Their simple post-frame design allows for flexible sizes and layouts while ensuring long-lasting durability. Here’s a look at some key benefits that make pole barn construction a popular choice for many builders.
Many people choose pole barn construction for its cost-effectiveness. This method requires fewer materials and is easy to assemble, significantly reducing material and labor costs. By lowering expenses and streamlining the building process, pole barns allow for quicker completion. They provide a budget-friendly solution that doesn’t compromise on strength or durability, making them an ideal choice for various projects.
As mentioned, building a pole barn requires fewer materials, making the project get done faster. In addition, you don’t have to spend time digging out a deep foundation, pouring the concrete for it, and waiting for it to solidify. The pole barn construction process gets you the building you need in no time.
Pole barns are entirely customizable! They can be turned into a variety of buildings, from a workshop or studio to an office building or garage. Pole barns also come in several sizes, allowing you to find the size and layout that best fits your needs.
Since pole barns are typically built with treated wood or metal, they are resistant to rot, pests, and harsh weather conditions. Adding metal siding or roofing will make your structure easy to care for, requiring a simple wash down, and will last you for years to come. This design provides a highly durable and long-lasting building while reducing the time and effort needed for maintenance to ensure its longevity.
Pole barns can also easily be expanded on in the future. If you decide you need more space after building a pole barn, you can add more space to it. This makes an adaptable building for those with a growing farm or business that may require constant expansions.
Before building a pole barn, it’s crucial to carefully plan your structure to ensure a smooth and successful build. From choosing the right location to determining the size and purpose of your pole barn, making thoughtful decisions upfront will set the foundation for a durable and functional structure. In this section, we’ll guide you through the key considerations and steps to make when planning your pole barn, helping you to turn your vision into a well-organized and efficient construction project.
Before you dive into the construction of your pole barn, it’s essential to clarify its intended use. Understanding what you plan to use the pole barn for will influence the design, size, and features you must incorporate. Whether you envision it as a workshop, storage facility, livestock shelter, or garage, defining its purpose helps ensure that your pole barn will meet your specific needs and function efficiently. Keep reading to explore the various uses of pole barns to help you pinpoint which one is right for you!

Agricultural pole barns can be used for a variety of farming needs. Whether you’re looking for hay storage, a place to store equipment, a farm office, or simply a barn for your livestock, a post-frame building can provide you with exactly what you’re looking for. Depending on which of these options you choose, you’ll likely need to consider different agricultural pole barn sizes or layouts for your barn.
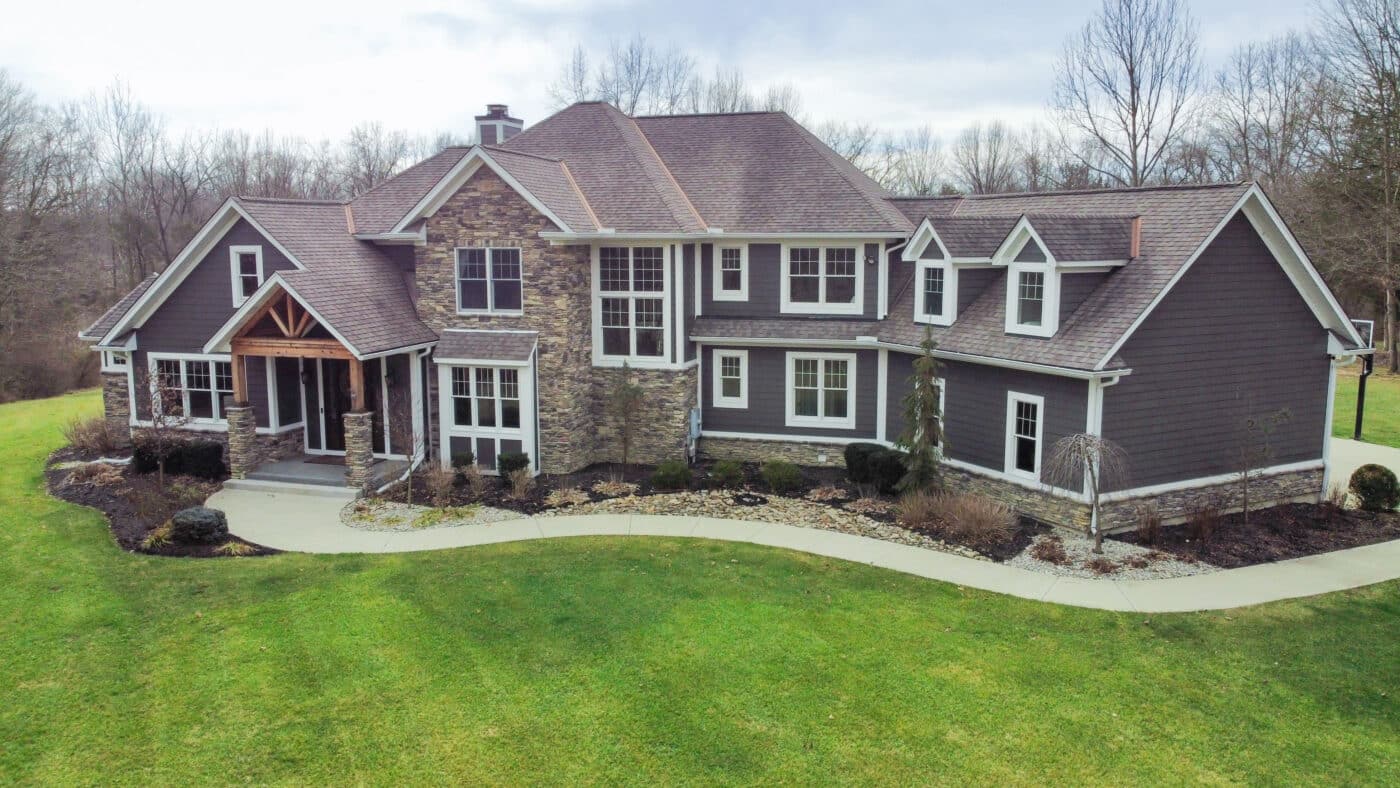
You can turn your pole barn into a barndominium. This allows you to own a home at a more affordable price. You can also tailor the interior to fit your needs, selecting the number of rooms, the building size, and more that best suits your preferences. If you choose this option, you’ll need to consider different barndominium sizes based on how many rooms you plan to include.
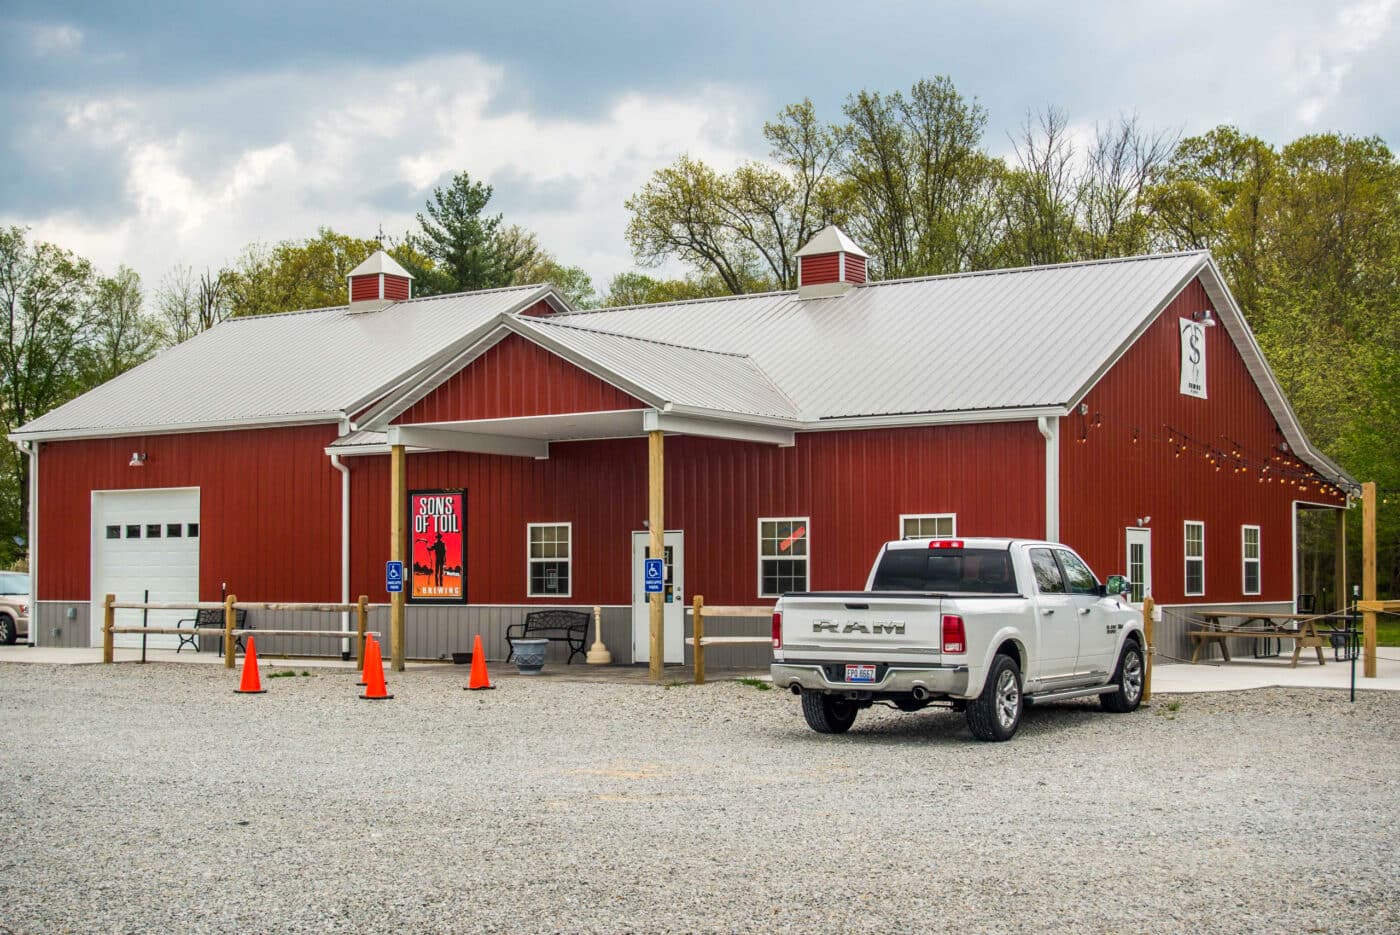
A commercial pole barn is the perfect solution for business owners. It can be used for various businesses, from farming operations and office buildings to gas stations or barns. It is also highly adaptable, allowing you to expand upon it as your business grows. You will likely need to look at different commercial pole barn sizes and layouts to find the one that best suits the type of business you operate.
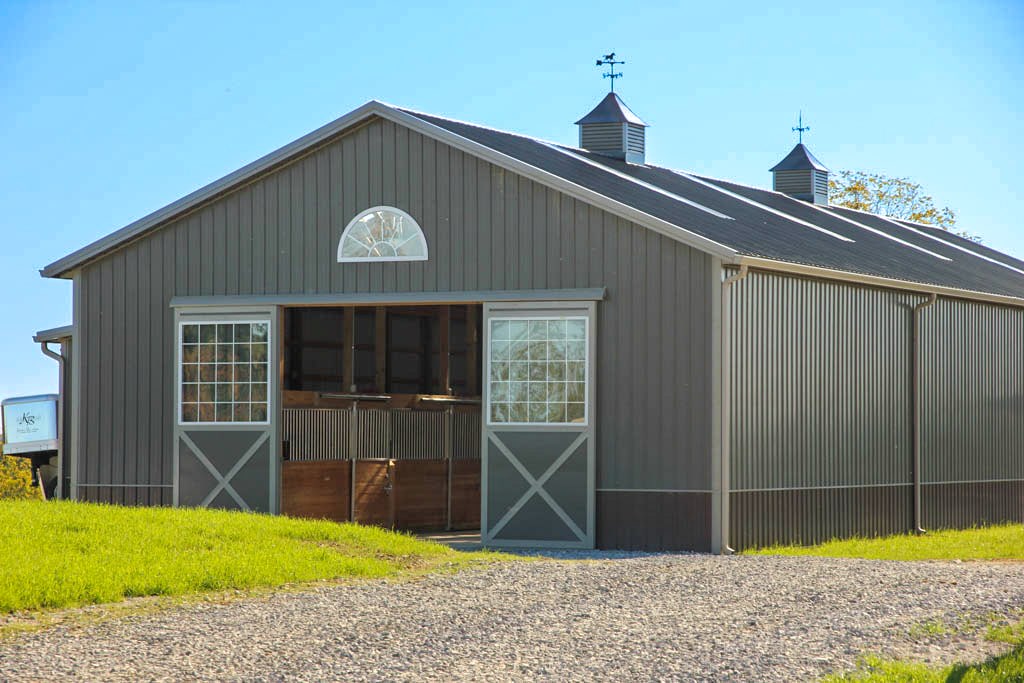
A pole barn is perfect for creating a stable, a riding arena, and more for your horses. With their customizable layout, you can add multiple stalls, a tack room, a riding area, or hay storage. It’s important to decide exactly how you plan to use your equestrian pole barn, so you know what layout and equestrian pole barn sizes you’re looking for before beginning your project.
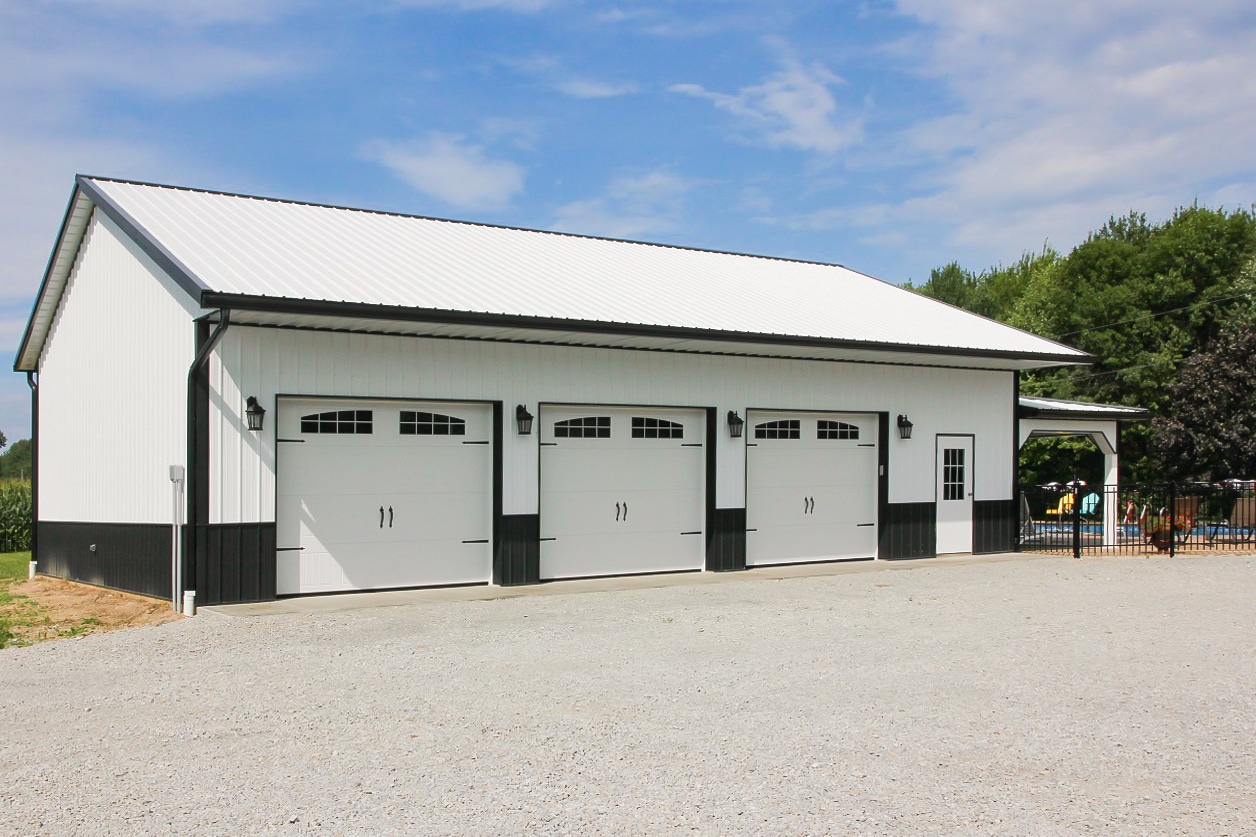
Due to their durability, pole barns are also an excellent choice for a garage. They can shelter any number of vehicles from harsh weather conditions or can be converted into a storage space, workshop, or a car shop. It’s best to determine how many vehicles you plan to store or what you plan to use the garage for so you can decide which garage pole barn size you’ll need before getting started on construction.
Now that you know what type of pole barn you’re planning to use, you’ll need to determine where you want to place it. We recommend selecting a site with a level area that has good drainage to prevent water issues. You’ll also want it to be easily accessible for construction and in a spacious enough area to allow for future expansion if needed.
Local zoning or building codes may also require you to place your pole barn in a certain place. Different localities will require different setbacks and distances from other buildings, so it’s always best to check with your local authorities when planning to build a pole barn.
As touched upon earlier, when you decide which pole barn you want to build, you also need to determine its size and layout. The size of your barn should be able to accommodate the interior layout you have in mind. For example, if you want to build a pole barn garage with enough space to store five vehicles, you need a size that will accommodate all those cars, be able to have five garage doors, and still have some additional space.
One of the benefits of post-frame construction is the ability to customize it to fit your needs. You can add features such as multiple doors and windows, a variety of colors, insulation, multiple rooms or stalls, and more. Try out this 3D Designer Tool to see how you can customize your pole barn for maximum functionality.
Many building, planning, or zoning departments require you to get a permit before constructing a new garage, barn, residential, or commercial building. It’s always best practice to consult with your local officials to find out what they allow, then submit a permit, pay the fees, and receive approval before building a pole barn. You’ll likely need to undergo an inspection to ensure that you’re complying with their building standards as well.
Our 3D Builder tool allows you to build a pole barn to your specifications, so you can see different sizes, styles, layouts, and features for your pole barn. If you’re still having trouble planning the design of your pole barn, contact CMT Components at (937) 446-3400 or sales@cmtcomponents.com. We’d be happy to assist you!

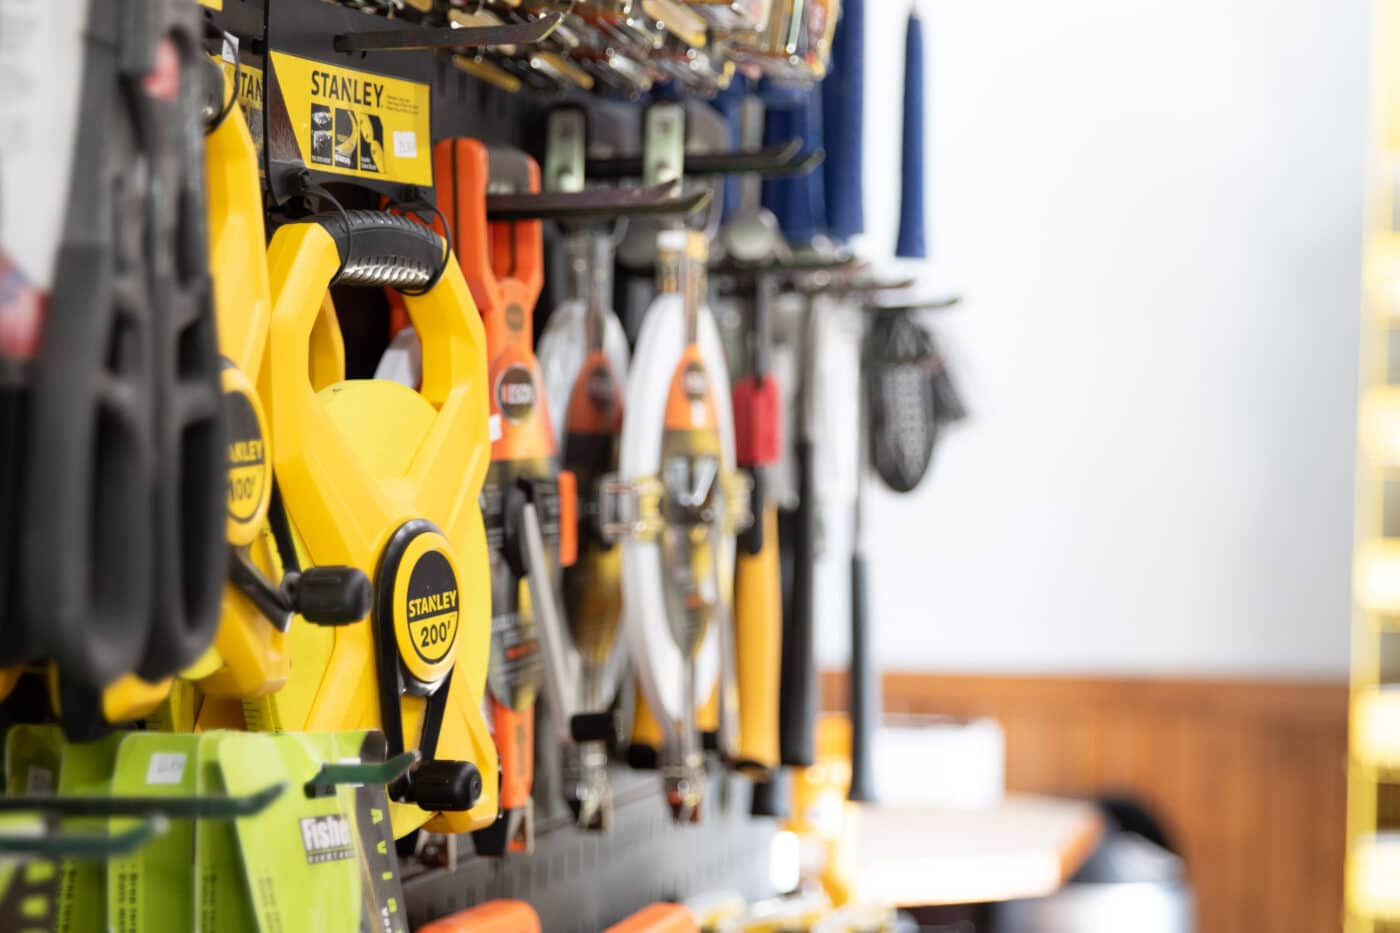
Building a pole barn requires a variety of tools and materials to ensure a strong, durable structure. Here’s a rundown of the essential items you’ll need:
If you’re unsure precisely what tools or materials you’ll need, contact CMT Components at (937) 446-3400 or sales@cmtcomponents.com. We’re happy to help you with your pole project!

Building a pole barn is a rewarding project that provides a durable, cost-effective solution for a wide range of uses. Whether you’re looking to create a workshop, storage space, or even a barndominium, understanding the construction process is key to success. By following these steps to building a pole barn, you’ll be able to confidently tackle the project and create a structure that meets your needs. Let’s get started!
First, you need to clear the site of any vegetation or debris. Then, use stakes and strings to mark the perimeter of your pole barn. You’ll want to ensure that the site is level. If it’s not, you’ll need to remove any excess soil or fill in any low areas. From there you can compact the soil to create a stable base for pole placement. It’s recommended that you add a 4-6 inch layer of gravel to the base to aid in drainage. Finally, you can dig holes for the poles, typically 3-4 feet deep, ensuring they are below the frost line. The spacing will depend on the size and design of your pole barn.
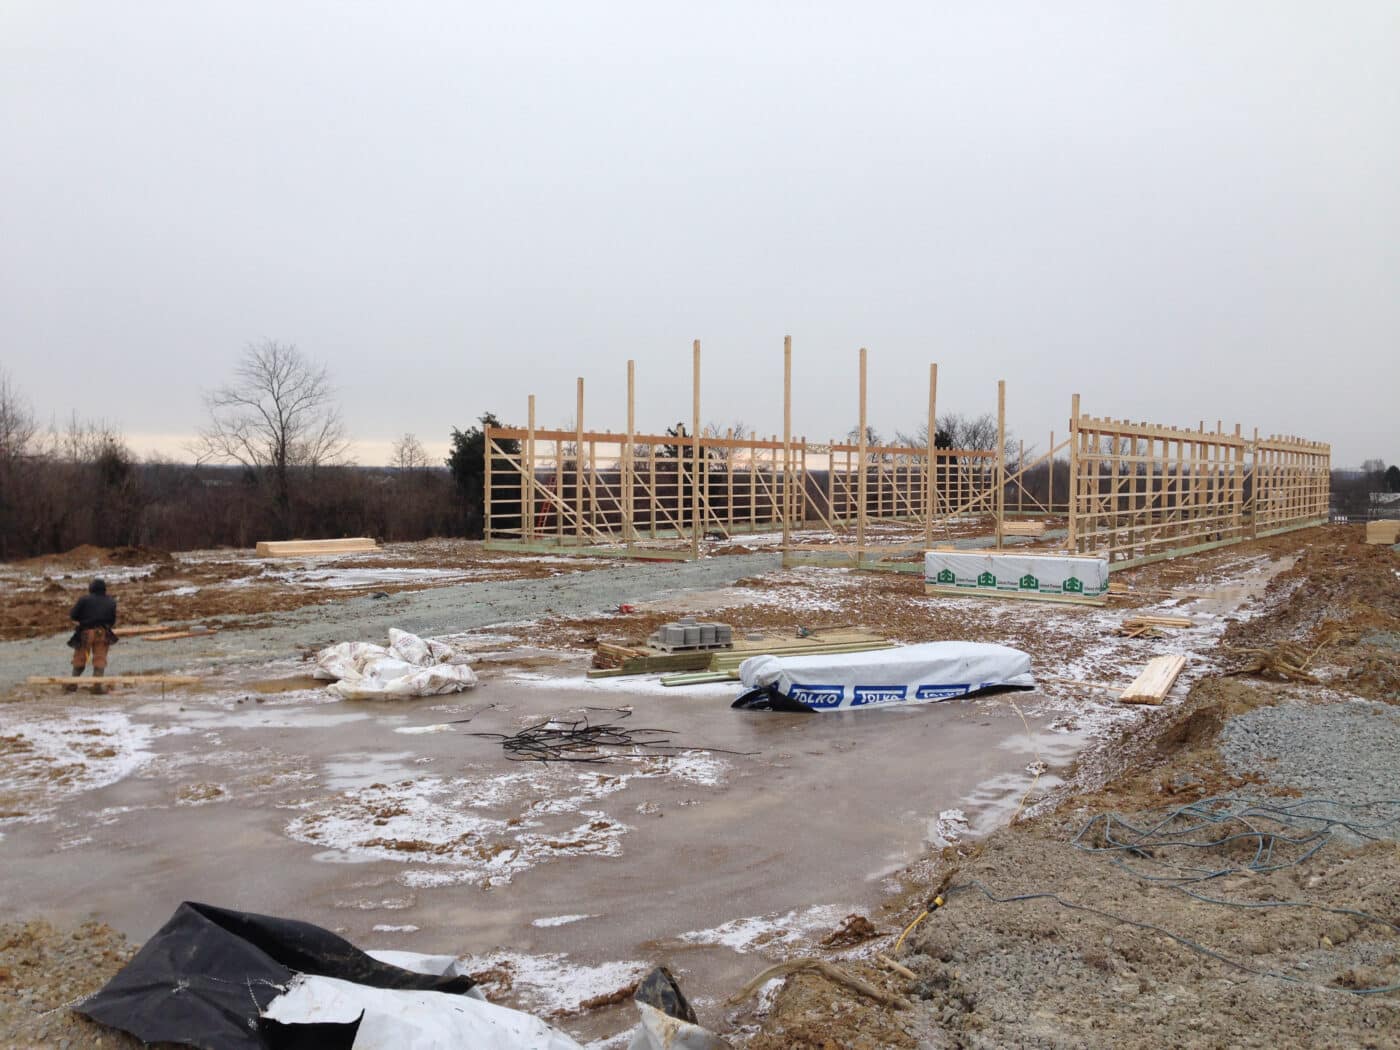
Now that you have prepared the base and dug the holes for your posts, you can begin to set them. Place the posts into the holes that you have properly spaced out and dug to the required depth. From there, pour concrete footings to set the poles securely and ensure they’re straight.
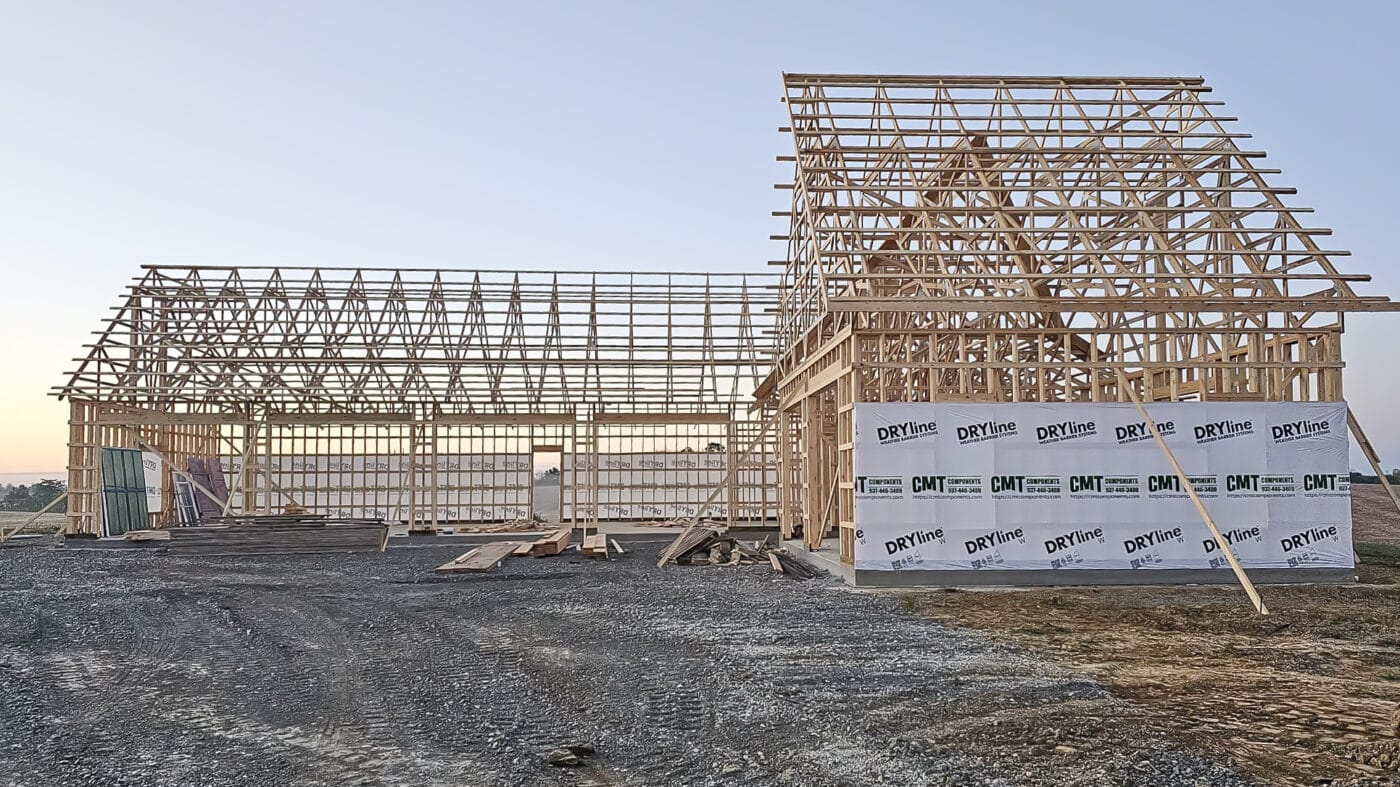
Then, you’ll want to attach the girts. These horizontal support beams are attached between the poles to provide lateral support and create a frame for the walls. You’ll use screws or bolts to secure them between the posts, and space them evenly to ensure they are level.
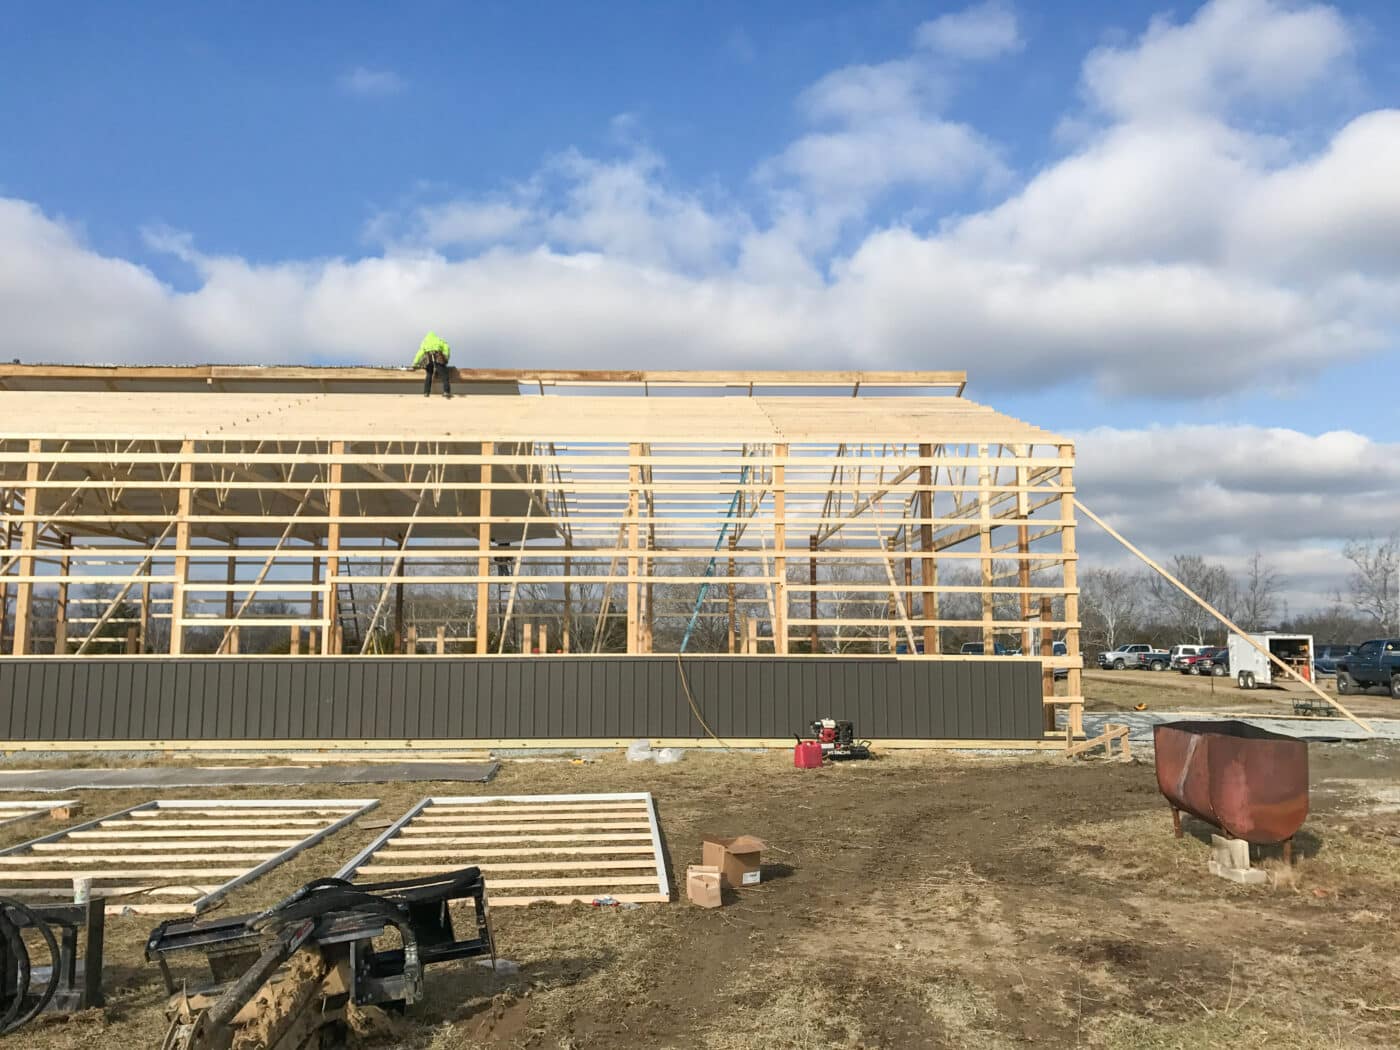
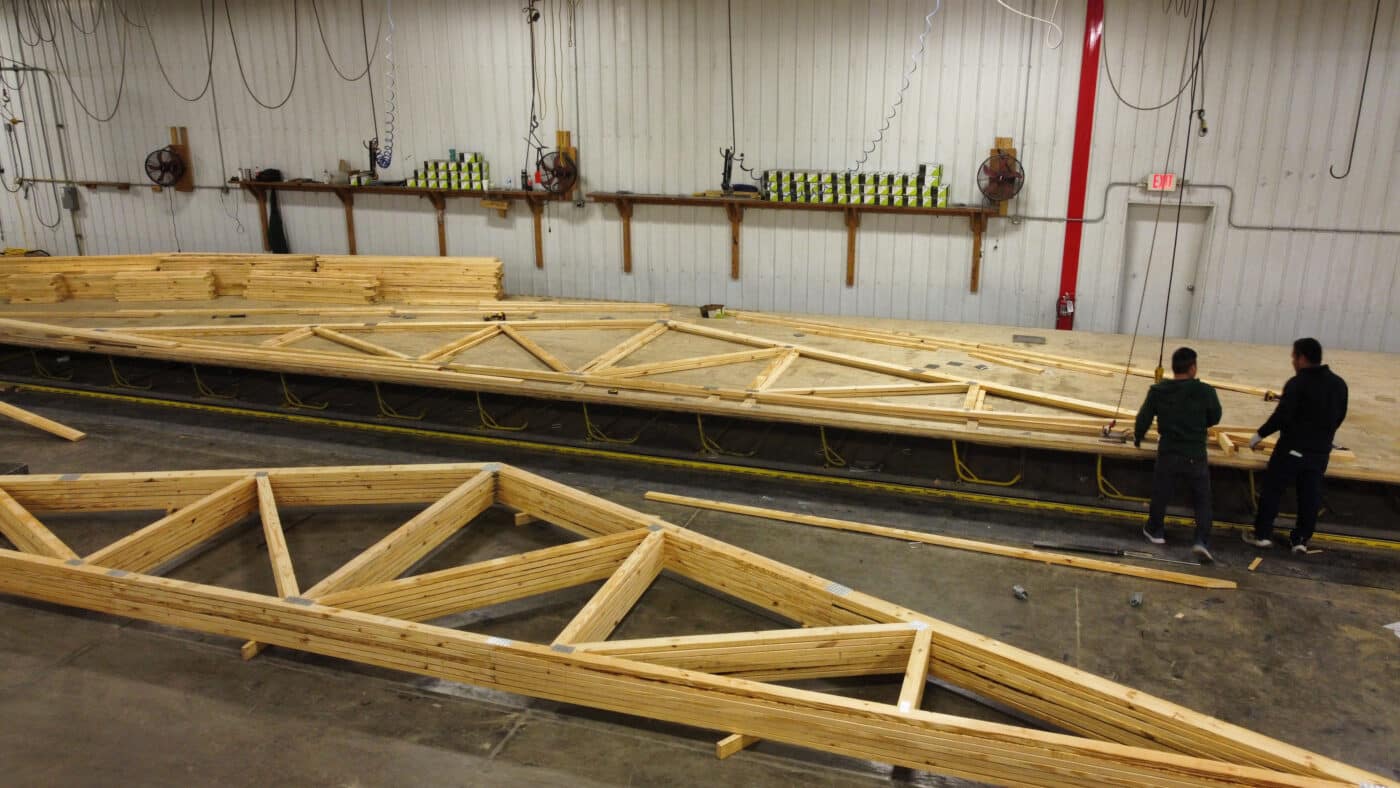
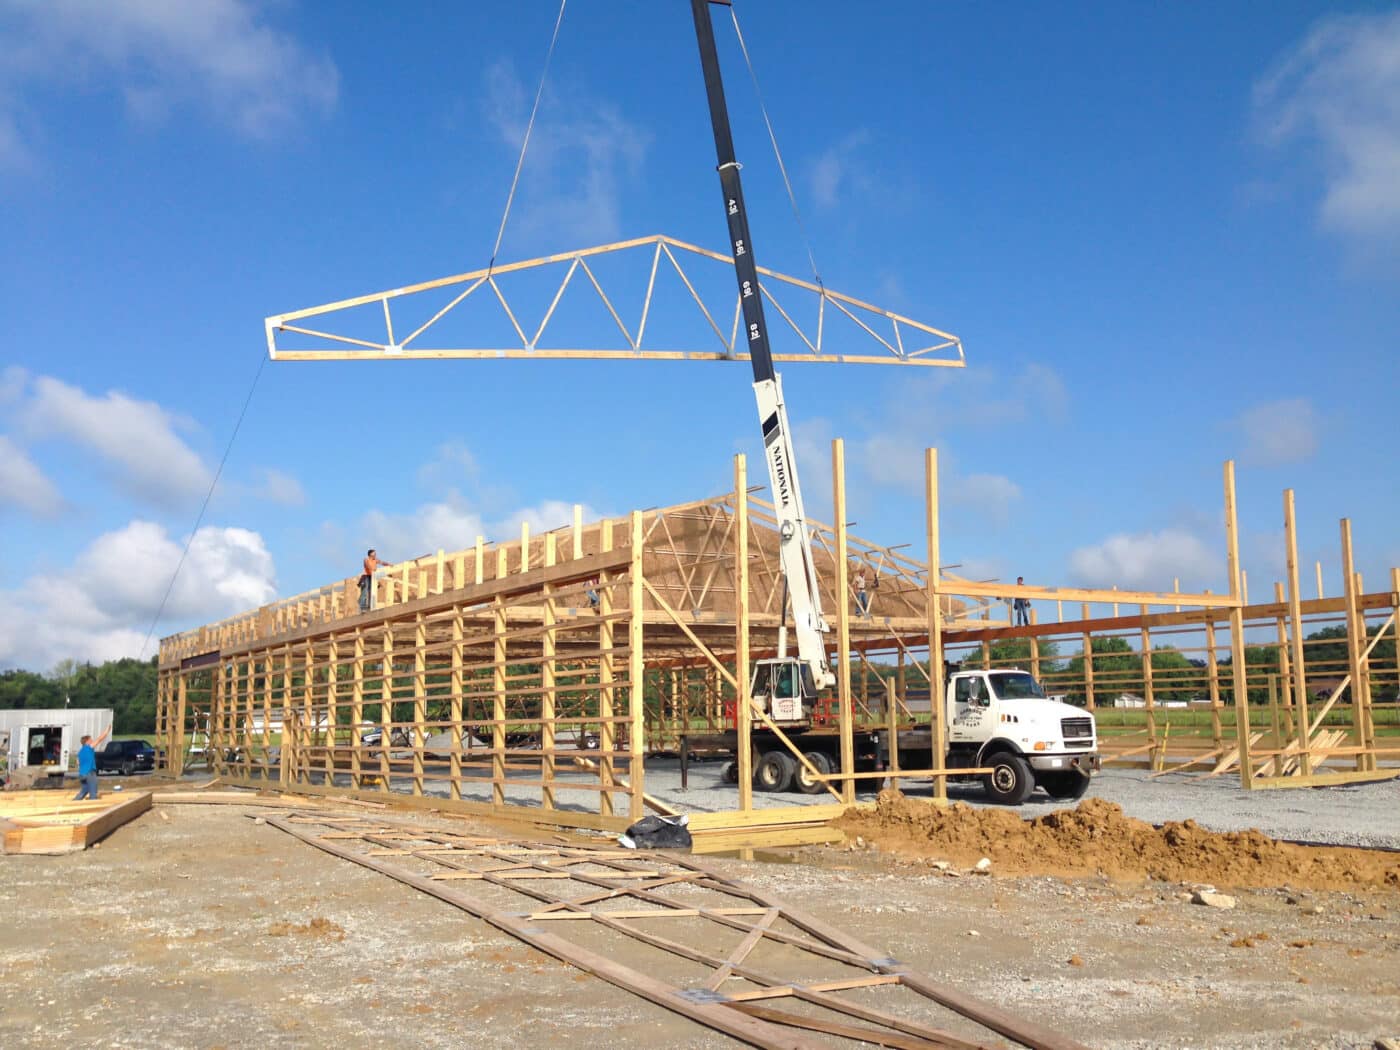
For this step, you’ll need a crane or lift, safety harnesses, screws or bolts, metal brackets, and a ladder. Begin by measuring and marking the placement of your roof trusses. Trusses are usually spaced 24-48 inches apart, but this can vary depending on the requirements of your roof. Mark their placement with a measuring tape and chalk line. Then, you can lift the trusses into place with the crane or lift.
Now, you’ll want to secure the trusses to the posts with metal brackets or plates; ensure they’re level before securing them. Install temporary bracing as you go, but once all the trusses are installed, add permanent bracing between them, such as purlins and diagonal braces.
With our pole barn kits, we’ll custom cut all the roof trusses to your desired length, so you won’t have to worry about doing so yourself.
After all your roof trusses and purlins are in place, you can install the roof sheathing or metal roofing panels, depending on your design.

First, choose a siding material that best fits your needs, whether that be metal, wood, or vinyl. We recommend metal as it is known for its durability and low maintenance qualities that allow it to stand the test of time. Then you can attach the siding, starting from the bottom and working your way up, using appropriate fasteners and sealants to ensure they are tightly sealed.
Start by inspecting the wall framing to ensure it is secure, level, properly spaced, and clean. From there, measure the height and width of the wall sections where the siding will be installed to determine how many panels you need and how to cut them. With our pole barn kits, we’ll precut all the metal panels to ensure you have the correct sizes and number of panels beforehand.
Next, you’ll install the trim and flashing. The trim will be placed around the doors, windows, and corners, creating an edge that offers an additional layer of defense against water infiltration. Flashing will go at the base of the walls and where the siding meets other surfaces to direct water away from the building. Our pole barn kits will also include the needed trim.
Now you can add the metal panels, overlapping them as needed to prevent water from leaking in, and securing them with screws or nails. Once the panels are installed, you can add additional trim and finishing touches as needed.
Once you finish building a pole barn, you can begin to add additional features such as doors and windows. To start, you’ll place the door or window frame into the opening, ensuring it is centered and leveled. In order to achieve a precise fit, use shims to adjust the frame. You can secure the frame using screws or nails.
After the frames are in, you will have to hang the doors and install the windows themselves. To hang any doors, attach the hinges to the pre-installed frame and hang the door on the hinges. Check to make sure that the door opens and closes smoothly and aligns properly with the frame. For the windows, place them into the frame and secure it with screws or a mounting system.
Finally, seal the edges with caulk or weatherproofing sealant around the edges of your doors and windows to prevent gaps that would cause drafts or water to leak in.
Before putting the flooring in place, determine what type you want based on the intended use of your pole barn. For example, you may want concrete for a sturdy base to support the weight of your vehicles in a pole barn garage or want traditional home flooring like hardwood, carpet, or tile for a barndominium. Then you can add the floor. How you do this will depend on the material you choose. Finish the flooring by applying a sealant or finish.
Now that the process of building a pole barn and adding the flooring is complete, you can start designing the interior and adding other final touches to create the structure you envision. These include interior siding, wall finishes like paint or stain, adding insulation, finishing electrical and plumbing work, and more.
If you need any help at all building your pole barn, contact CMT Components at (937) 446-3400 or sales@cmtcomponents.com. We’re here to assist you every step of the way!
One of the reasons a pole barn is such a cost-effective and versatile option is that it doesn’t require a traditional concrete foundation like many other buildings. However, some form of foundation or base is still necessary to provide stability and durability to your pole barn. Typically, a direct post setting or gravel base is often used. You can also add concrete footings or piers.
Building a pole barn kit is a manageable DIY project so long as you have the right tools, materials, instructions, and support. With CMT Components, the process is simple. Our pole barn kits feature all the materials you need, precut to your specifications, making the installation process easy. If you need any help building a pole barn at all, we’re happy to assist you!
Yes! If you’re comfortable with DIY projects and have some basic construction skills, you can easily build a pole barn yourself. Getting a pole barn kit can make building a pole barn much more manageable.
The general rule of thumb for how deep to set your posts is that their depth should be about a third to a half the height of the post above ground. For example, if your post will be 10 feet above the ground, your posts should be set 3 to 5 feet deep. However, the exact depth will depend on a number of factors such as the soil type and frost line.
It can be cheaper to build your own pole barn if you have the right skills, tools, and time. However, hiring a contractor may be a better option for those with limited experience or time constraints.
The typical distance that posts are placed apart on a pole barn is around 8 to 12 feet apart. However the actual distance they should be placed will depend on the size of the barn, the load it needs to support, and the types of materials being used.
While it’s not required, you can build a pole barn on a concrete slab. This offers the benefits of added stability and durability, ease of maintenance, and enhanced insulation.
Contact CMT Components at (937) 446-3400 or sales@cmtcomponents.com. We’ve been manufacturing metal panels and roof trusses for our pole barn kits for nearly two years and are happy to answer any questions!

If you already have a plan for the kind of pole barn you want to build, CMT Components can help make building a pole barn easier for you. We offer a range of pole barn kits that include everything you need to build an agricultural, commercial, garage pole barn, and more! If you need any help building your pole barn, contact us. We’re here to assist you. Still not sure what kind of pole barn you want? Our 3D Design tool allows you to visualize different pole barns to find the right one for you. CMT Components is here at every step, from designing to building a pole barn.
